Quick Start
This page walks from a fresh project to a running Reepolee application. It assumes you've already installed Bun and the global tools - if not, work through Installation first.
Starting From the Repository
Reepolee isn't published to a package registry. Create a project with bun create reepolee/reepolee my-project - the install script runs automatically as part of the fetch. Prefer to clone the MIT-licensed repository instead? Your first bun install fires the same installer there. Installation walks through it in full. By the time you reach this page you should already have a project folder in which the install has run, which means the dev dependencies are installed, your .env exists (copied from .env.example with TIME_ZONE set to your machine's timezone), and - because the default DEV_CONNECTION_STRING is sqlite:app.db - a local SQLite database has already been initialised with the core schema.
With bun create the project starts as a tarball fetch with a fresh repository and initial commit; with a clone it starts as a source checkout. Either way, the same project-specific setup is applied.
You can remove or rename the original remote after installation because a Reepolee project is a starting point rather than a package dependency. When a newer version contains changes you want, use Reesync to compare a fresh checkout with your project and choose the files to adopt.
The Quickest Path - bun reeman
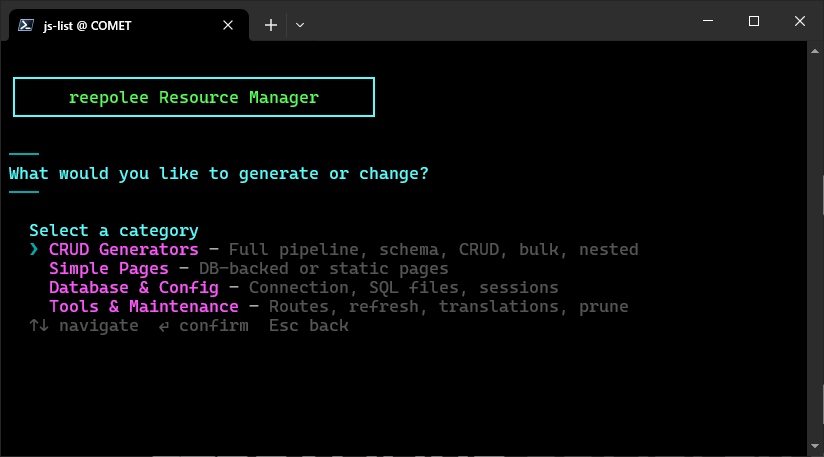
Most of the steps below - picking a database, applying SQL files, choosing a session backend, and generating resources - are also available in the project's interactive setup tool:
bun reeman
On an initialised project the tasks are available from the grouped menu, alongside generators ("Single table", "All tables", "Bulk CRUD", "Nested children"), "Simple Table Page", "Remove route", "Add locale", and "Run SQL file".
Reading the rest of this page is still worth doing - it explains what reeman changes - but bun reeman is the shortest path from clone to running app.
On a fresh database, Quick Start uses ADMIN_USERNAME, ADMIN_EMAIL, and ADMIN_PASSWORD from .env as reviewed defaults for its admin-user prompts. You can change any value before confirming creation.
Picking a Database Driver
Reepolee ships with first-class support for both SQLite and MySQL. There's nothing to copy - config/db.ts is a dynamic barrel that picks the right driver based on your connection string. A sqlite: prefix selects the SQLite driver; a mysql: prefix selects MySQL. Reeman's Set database type updates both DEV_CONNECTION_STRING and TEST_CONNECTION_STRING in .env for you.
Environment Variables
bun reepolee:install already created your .env from .env.example, so there is nothing to copy - open the existing .env at the project root and set DEV_CONNECTION_STRING to whichever database you want:
# SQLite - the database is a single file in the project directory
DEV_CONNECTION_STRING="sqlite:app.db"

# or, for MySQL
# DEV_CONNECTION_STRING="mysql://localhost/reepolee_dev"
# DEV_DB_USERNAME="myuser"
# DEV_DB_PASSWORD="secret"
The default is sqlite:app.db, which the installer has already initialised with the core schema, so a fresh SQLite project runs without any further setup. UI translations ship as co-located {locale}.json files rather than database rows. Point DEV_CONNECTION_STRING at a different SQLite file and the server creates it on first start, after which you apply the schema through bun reeman -> "Run SQL file" (or by running the files under sql/sqlite/ yourself). Production reads PROD_CONNECTION_STRING instead, so you can point dev and prod at different databases.
For MySQL, the connection string is just the endpoint - set DEV_CONNECTION_STRING to mysql://localhost/reepolee_dev and put the credentials in DEV_DB_USERNAME / DEV_DB_PASSWORD (set both to N/A for SQLite). Then create the database and apply sql/mysql/ - reeman's "Run SQL file" step helps with the latter. The TIME_ZONE variable in .env controls the timezone applied to every MySQL connection - set it to match your server's timezone.
config/db.ts creates the connection directly and exits with a clear error at startup if the active connection string doesn't start with either sqlite: or mysql: - so a typo gets caught before you load a page.
The full list of environment variables is in Configuration.
Running the Dev Server
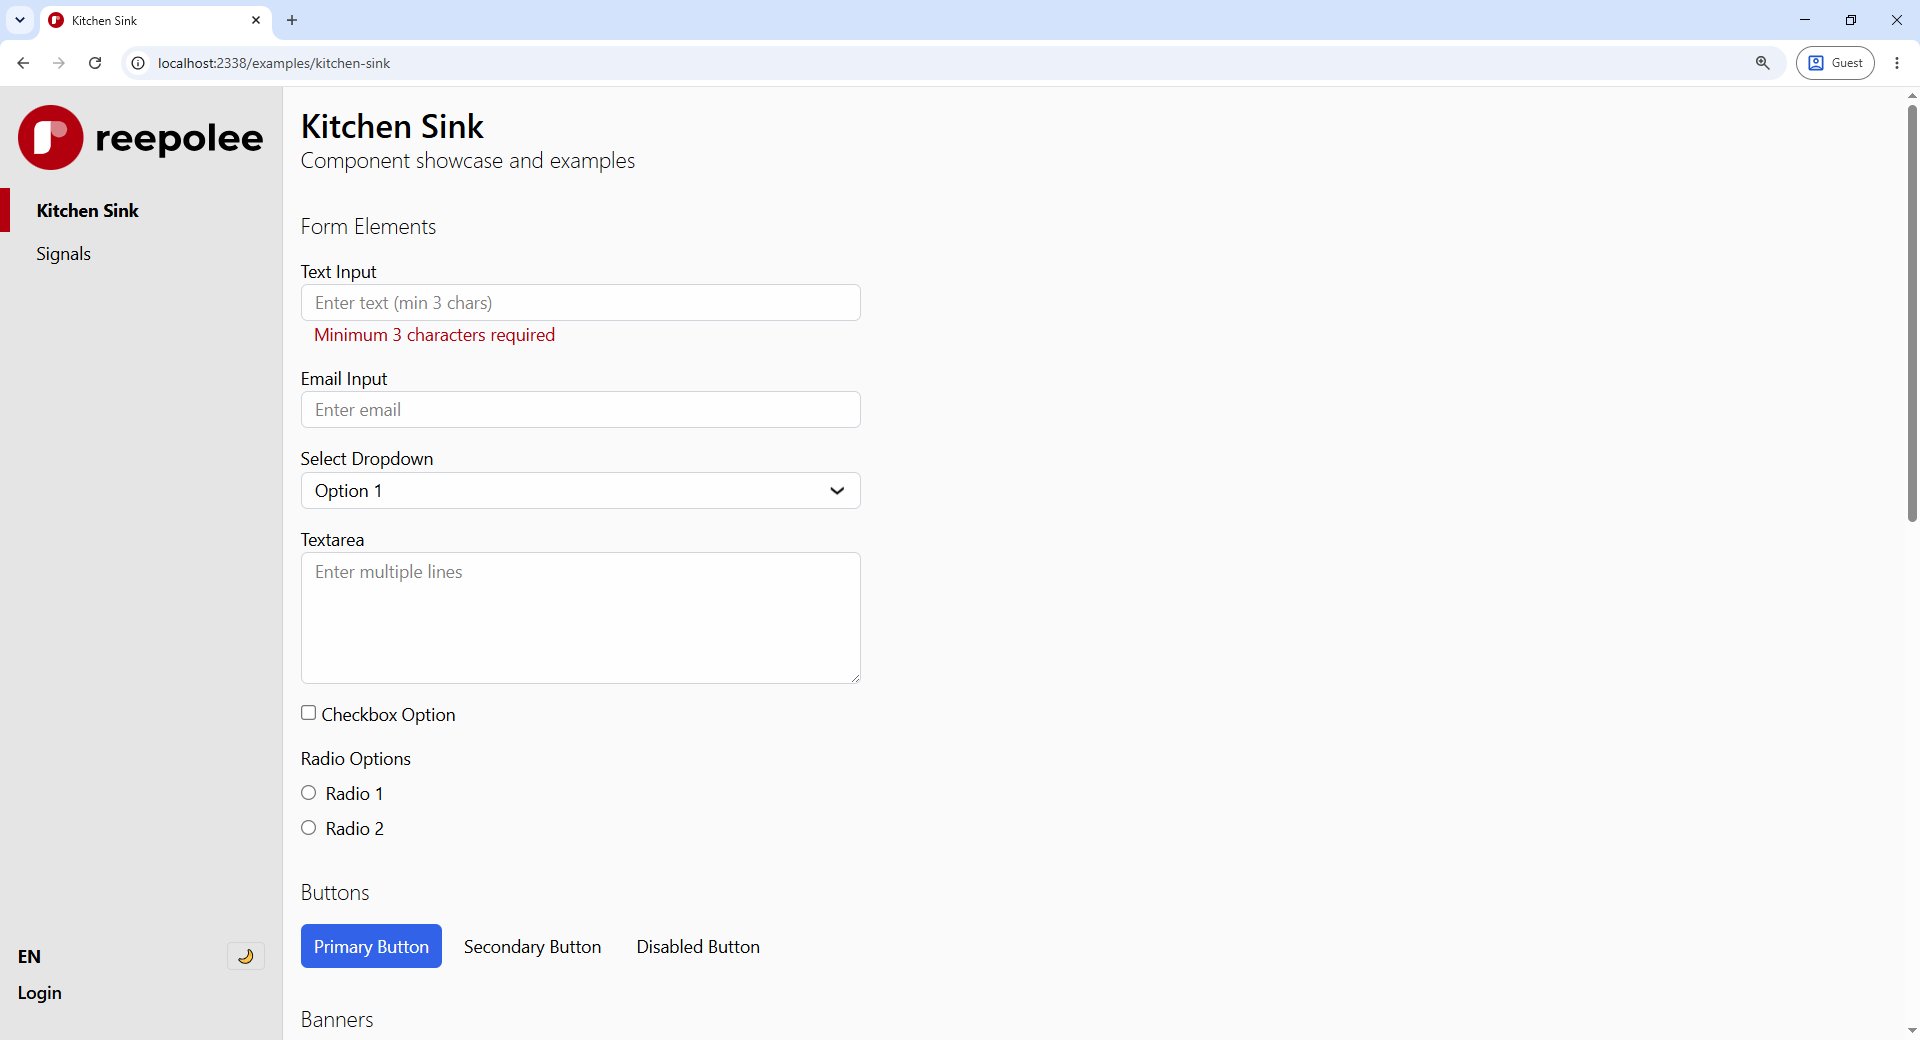
Start everything in development mode:
bun dev
This single command runs the Tailwind watcher and the Bun hot-reload server side-by-side. Open http://localhost:2338 in a browser. The port is configurable via the PORT variable in .env.
What's running behind the scenes (scripts/dev_run.ts, the dev orchestrator):
- Builds CSS once, then runs
tw --watch=always(the Tailwind v4 compiler, incremental) bun --hot apps/main/server.ts --dev- the application server with hot reload on file changes- The orchestrator starts the queue worker (
worker.ts) only when--workeris passed, and restarts the dev process when.envorconfig/changes
The orchestrator's flags map to five package.json scripts:
| Command | App server | Reeman app | ReeQA app | Queue worker |
|---|---|---|---|---|
bun dev | ✓ | |||
bun dev:worker | ✓ | ✓ | ||
bun dev:reeman | ✓ | |||
bun dev:reeqa | ✓ | |||
bun dev:all | ✓ | ✓ | ✓ | ✓ |
bun dev:all runs the app server, the reeman app, the ReeQA app, and the queue worker together. The reeman app (apps/reeman/server.ts) serves the reeman generator UI and sysadmin pages from the same checkout (users, translations, modules, studio, software update, ...) on its own port (REEMAN_PORT, default 2339). The ReeQA app (apps/reeqa/server.ts) serves the QA dashboard on the explicitly configured REEQA_PORT; the shipped .env.example uses 2340, but the server has no fallback. These are separate dev processes that never touch the main app's module graph or the traffic it serves. See ReeQA for the full QA dashboard documentation. The ports are independent origins with independent cookies but share the same login and users row. The queue worker runs whenever --worker is passed (as bun dev:worker and bun dev:all do).
Hot reload picks up template, route, and styling changes within a few hundred milliseconds. For most edits you don't need to refresh the page.
The Installed Demo Users
bun reepolee:install creates two verified demo users:
| User | Password | Initial modules | |
|---|---|---|---|
| Alice | alice@example.com | a | system,user |
| Bob | bob@example.com | b | user |
This is intentional. Alice can open the system Users CRUD but initially cannot open /admin/*. Sign in as Alice, edit Alice in Users, and add the admin module. After the session reflects the updated assignment, the admin navigation for Developers and Languages becomes available. Bob remains a user and can work with Frameworks and Books under /user/*.
Alice and Bob are documentation fixtures with intentionally trivial passwords. Remove or replace them before production. See Authorization.
Generating Your First Resource
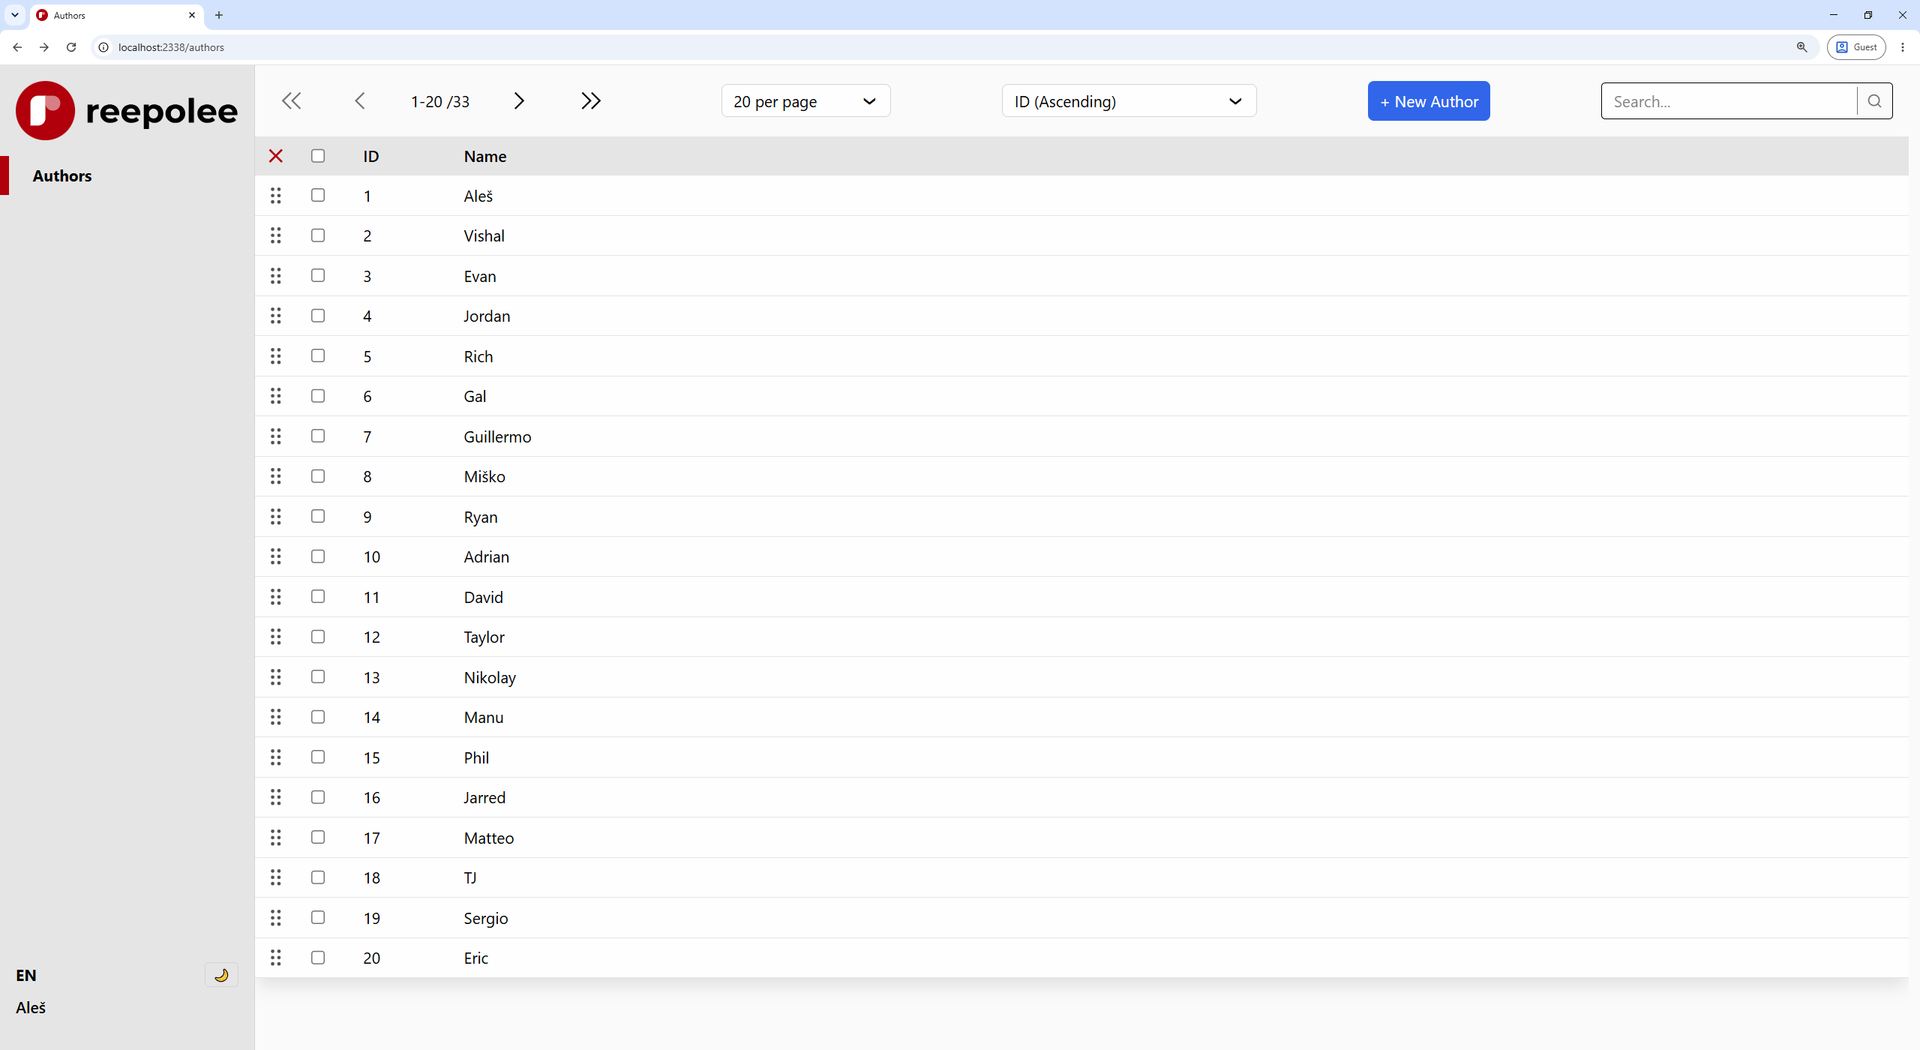
The documentation example uses the shipped incremental SQL files instead of modifying the core init file:
- Run
sql/sqlite/demos/05-frameworks.sqlto add Developers, Languages, Frameworks, the Frameworks view, and demo data. - Run
sql/sqlite/demos/06-init-books.sqlto add Books and its demo data. - Generate Developers and Languages with the
adminprefix. - Generate Frameworks and Books with the
userprefix.
Apply each file with bun reeman -> "Run SQL file". Then use its resource generator for each table and choose the matching prefix.
bun reeman
# admin: developers, languages
# user: frameworks, books
The generated folders mirror their authorization modules: apps/main/admin/developers, apps/main/admin/languages, apps/main/user/frameworks, and apps/main/user/books. Their public paths are /admin/developers, /admin/languages, /user/frameworks, and /user/books.
The full generator reference is in Generators.
What's Where
A fresh Reepolee project has a small, opinionated layout. The folders you'll touch day-to-day:
| Path | Purpose |
|---|---|
apps/main/ | Route handlers, templates, queries, and translations - one folder per feature |
components/ | Reusable .ree components (form inputs, banners) |
lib/ | Framework helpers (render, middleware, template engine) |
config/ | Database driver, locale list, generator settings |
css/app.css | The Tailwind entry point - design tokens, base styles |
static/ | Static files served directly to the browser |
sql/ | Per-dialect schema + seed files (sql/sqlite/, sql/mysql/) |
apps/main/server.ts | The HTTP server entry point - rarely needs editing |
apps/main/routes.ts | The top-level route table - wires features into URL paths |
Project Structure covers each in more detail.
Next Steps
You have a running Reepolee application. From here, the natural reading order:
- The Basics - how routes, controllers, and middleware compose.
- Ree Templates - the templating language, in detail.
- Forms - the input components, validation, toasts, and uploads patterns that drive most of what you'll build.
- Database - the SQL API, schema management, and the generator.
- Security - the auth flow, authorization tags, and the invitation system.
For a tutorial-style walkthrough of building a real application, see the Recipes section.